
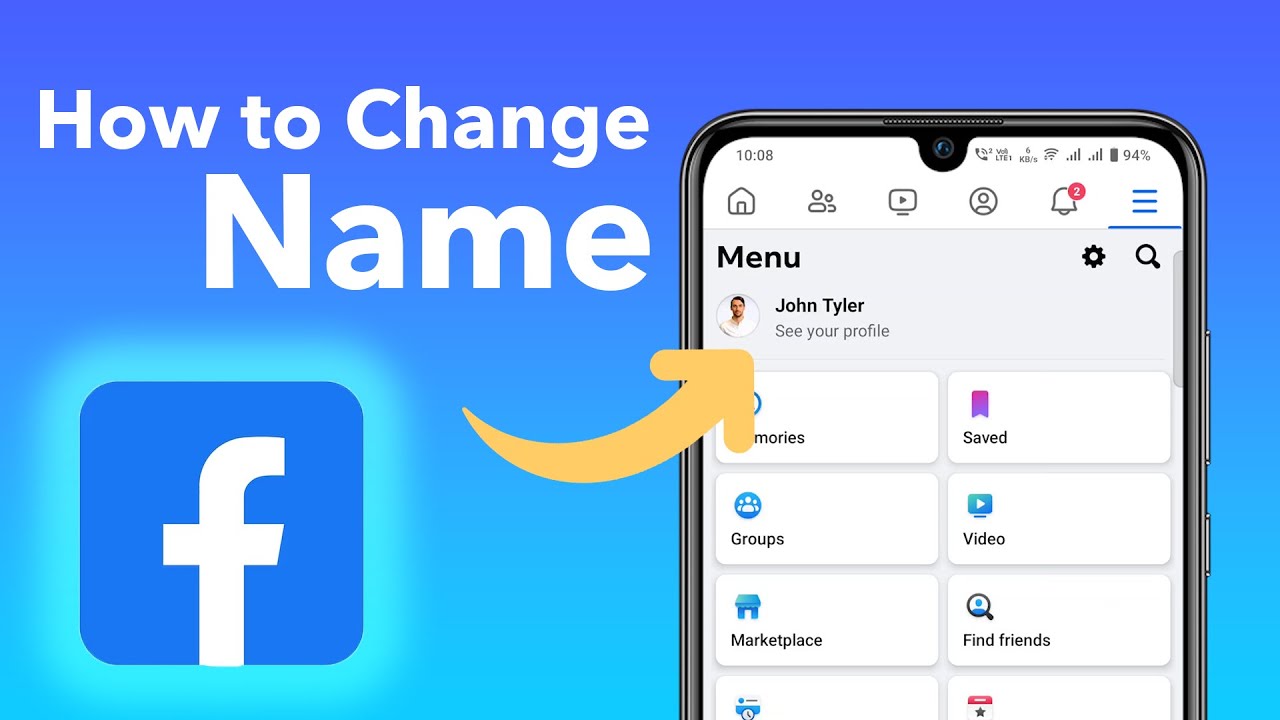
Your Facebook profile has carried the same name since 2015, but life has moved on. Maybe you got married, divorced, or simply decided that "Mi

Your Facebook profile has carried the same name since 2015, but life has moved on. Maybe you got married, divorced, or simply decided that “Mike” fits better than “Michael.” Perhaps you legally changed your name and need your social media to reflect who you actually are now. Whatever the reason, updating your Facebook name is straightforward once you understand the platform’s rules and process.
The good news? Changing your name on Facebook can be completed in minutes on both desktop and mobile devices. The not-so-good news? Facebook has specific policies about what names are acceptable, how often you can make changes, and what documentation you might need. Get any of these wrong, and you’ll find yourself stuck with a name you don’t want for the next two months.
I’ve walked dozens of people through this process, from newlyweds updating their married names to professionals adding credentials to their profiles. The steps themselves are simple, but the details matter. Miss one requirement, and Facebook will reject your request without much explanation. This guide covers everything you need to know: the exact steps for both desktop and mobile, Facebook’s naming rules, and what to do when things go wrong.
Understanding Facebook’s Name Policy and Restrictions
Facebook’s approach to names differs significantly from other social platforms. While Twitter and Instagram let you call yourself virtually anything, Facebook operates under what they call a “real name” policy. The platform wants the name on your profile to match the name you use in everyday life, which usually means the name on your government-issued ID.
This policy exists because Facebook positions itself as a platform where you connect with people who actually know you. Your high school friends, family members, and coworkers should be able to find and recognize you. That said, the policy has flexibility built in. You don’t necessarily need to use your full legal name, but the name must be something people genuinely call you.
Facebook’s name change policy emphasizes the use of your authentic identity, aligning with real-name standards across all Meta platforms. You should use your genuine first and last names as they appear on official identification documents. This becomes especially important if Facebook flags your account for verification.
Allowed Characters and Formatting
Facebook’s naming system accepts standard alphabetic characters, but the rules get specific about formatting. Your name can include letters, spaces, periods, apostrophes, and hyphens. So “Mary-Anne O’Brien” works perfectly fine. What doesn’t work: numbers, symbols, unusual capitalization patterns, or characters from multiple languages mixed together.
The platform requires both a first and last name. VPNs and region switching are no longer effective for bypassing this rule, so don’t waste your time trying workarounds you might have read about online. If you go by a single name culturally, you’ll need to contact Facebook support directly for accommodation.
Titles and professional designations like “Dr.” or “PhD” don’t belong in your main name field. Facebook provides separate options for displaying these, which we’ll cover later. Similarly, nicknames go in a dedicated section rather than replacing your actual name.
The 60-Day Name Change Rule
Here’s where many people run into trouble. Facebook typically allows a name change only once every 60 days to prevent abuse. This means if you change your name today and realize you made a typo tomorrow, you’re stuck with that typo for two months.
The 60-day restriction serves multiple purposes. It prevents people from constantly changing names to evade people they’ve blocked or harassed. It also stops scammers from rapidly cycling through identities. For legitimate users, though, this means you need to get it right the first time.
If you genuinely need to change your name before the 60-day window expires, you can fill out a form on Facebook with your new name, relevant details, and a screenshot of your profile. Facebook reviews these requests manually, so approval isn’t guaranteed and can take several days.
Identity Verification Requirements
For most routine name changes, Facebook won’t ask for documentation. You’ll simply enter your new name, confirm with your password, and the change goes through. However, certain situations trigger verification requirements.
Facebook may request identity verification through official documents like driver’s licenses, passports, or birth certificates, especially for significant name changes or suspected policy violations. If the new name looks dramatically different from your current one, or if your account has been flagged for any policy issues, expect to provide proof.
The verification process involves uploading a clear photo of your ID through Facebook’s secure portal. Names on the ID should match what you’re requesting. Processing typically takes a few days, though it can stretch longer during high-volume periods.
Step 1: Accessing Your Account Settings
The name change process starts from your Facebook settings, but Facebook has reorganized where these controls live. Since Meta unified its platforms, name settings now reside in the Meta Accounts Center rather than traditional Facebook settings.
From your Facebook homepage on desktop, click your profile picture in the top right corner. A dropdown menu appears with several options. Look for “Settings & privacy” and click it. Another submenu expands, where you’ll select “Settings.” This takes you to the main settings page.
On the left sidebar, you’ll see various categories including “Your information,” “Security and login,” and “Privacy.” The name change option lives under “Your information” or directly through the Meta Accounts Center link, depending on your account configuration.
Navigating the Meta Accounts Center
Meta Accounts Center consolidates settings across Facebook, Instagram, and other Meta platforms. If you’ve linked your accounts, changing your name here can affect multiple platforms simultaneously, so pay attention to which profiles you’re modifying.
Once in the Accounts Center, look for “Personal details” or a similar option. This section contains your name, email addresses, phone numbers, and birthday. Click on your name to access the editing interface.
The Accounts Center interface shows which Meta accounts are linked to your identity. If you only want to change your Facebook name while keeping your Instagram name different, make sure you’re editing the correct profile. The system clearly labels which platform each setting affects.
Step 2: Selecting Your Profile and Name Options
After accessing the name section, you’ll see your current name displayed along with an edit option. Facebook shows your name broken into components: first name, middle name (if any), and last name. Each field can be edited independently.
Click the edit button or pencil icon next to your name. The fields become editable, allowing you to type your new name. Facebook displays your current name in each field, which you can modify or completely replace.
Before typing anything, consider exactly how you want your name to appear. Facebook displays names in “First Last” format by default, though you can adjust the display order in some regions. Think about whether you want a middle name visible, whether you prefer a nickname, and how you want capitalization handled.
Step 3: Entering and Formatting Your New Name
Type your new first name in the first name field. Use standard capitalization: first letter uppercase, remaining letters lowercase. Facebook may automatically correct unusual capitalization, but it’s better to enter it correctly from the start.
Move to the last name field and enter your surname. If you have a hyphenated last name like “Garcia-Martinez,” include the hyphen. For names with apostrophes like “O’Connor,” include the apostrophe. Facebook’s system handles these characters without issue.
Double-check your spelling before proceeding. Remember that 60-day rule: a typo now means living with it for two months. Read each field character by character. I’ve seen people accidentally type “Smtih” instead of “Smith” and not notice until friends started asking questions.
Adding Middle Names or Initials
The middle name field is optional but useful if you commonly go by your middle name or want it visible on your profile. You can enter a full middle name, just an initial, or leave it blank entirely.
Some people use the middle name field strategically. If your first name is common, adding a middle name or initial helps distinguish you from others with the same name. “John Smith” becomes “John R. Smith,” making it easier for people to find the right profile.
If you don’t want a middle name displayed, simply leave the field empty or delete any existing content. The field won’t appear on your profile if left blank.
Step 4: Reviewing the Name Change Display
Before finalizing, Facebook shows you a preview of how your name will appear. This preview displays the name as others will see it on your profile, in comments, and in search results.
Review the preview carefully. Check that the spacing looks correct, that capitalization appears as intended, and that any special characters display properly. The preview should match exactly what you want others to see.
Facebook may also show you alternative display formats if applicable. Some regions allow displaying surnames first, or showing names in different scripts if you’ve entered them. Select your preferred display format from the available options.
If something looks wrong, go back and edit the fields. You haven’t committed to anything yet, so make adjustments freely until the preview matches your expectations.
Step 5: Confirming with Your Password
Once satisfied with the preview, click the save or confirm button. Facebook requires your password to complete the change. This security measure prevents unauthorized name changes if someone gains temporary access to your logged-in account.
Enter your current Facebook password in the field provided. If you’ve forgotten your password, you’ll need to reset it before completing the name change. Don’t try to guess: too many wrong attempts can temporarily lock your account.
After entering your password correctly, Facebook processes the change. For straightforward name changes that don’t trigger verification, the update happens immediately. Your new name appears on your profile, in your friends’ feeds, and in search results right away.
You’ll receive a notification confirming the change, and Facebook may send an email to your registered address as a security measure. If you didn’t initiate this change, that email provides a link to report unauthorized access.
How to Change Your Name on the Facebook Mobile App
The mobile process mirrors the desktop experience but with a touch-optimized interface. Most people find the mobile version slightly faster since they’re already familiar with navigating their phone’s Facebook app.
Open the Facebook app and ensure you’re logged into the correct account. If you manage multiple accounts, verify you’re changing the name on the intended profile before proceeding.
Instructions for iOS Devices
On iPhone or iPad, tap the menu icon, which appears as three horizontal lines in the bottom right corner. Scroll down and tap “Settings & Privacy,” then tap “Settings.”
Look for “Personal and account information” or navigate to the Meta Accounts Center. Tap “Name” to access the editing screen. You’ll see your current name with options to modify each field.
Enter your new name using your device’s keyboard. iOS autocorrect may try to “fix” unusual names, so watch for unwanted corrections. Tap “Review Change” to see the preview, then “Save Changes” to proceed.
Enter your password when prompted. The app may offer to use Face ID or Touch ID if you’ve enabled biometric authentication, though password entry is typically required for account changes.
Instructions for Android Devices
Android users follow a similar path with minor interface differences. Tap the menu icon, usually three horizontal lines in the top right corner of the app. Navigate to “Settings & Privacy” and then “Settings.”
Find “Personal and account information” or access the Accounts Center directly. Select “Name” to open the editing interface. Your current name appears in editable fields.
Type your new name, reviewing each field for accuracy. Android’s keyboard may suggest corrections, so verify the final text matches your intention. Tap through to preview the change and confirm.
Complete the process by entering your password. Android may offer fingerprint authentication as an alternative, depending on your device and app settings.
Managing Nicknames and Professional Titles
Your main Facebook name should reflect your legal or commonly used name, but the platform offers additional fields for nicknames, maiden names, and professional titles. These appear on your profile without replacing your primary name.
Using these additional fields strategically helps people find you while maintaining a professional appearance. Your college friends might search for your maiden name, while professional contacts look for your credentials.
Adding an ‘Other Name’ to Your Profile
The “Other Names” feature lets you add nicknames, maiden names, birth names, or alternate spellings. These names appear on your profile and help people find you in search.
To add an other name, go to your profile and click “About.” Find the “Details About You” section and look for “Other Names.” Click “Add a nickname, a birth name…” to open the entry form.
Select the type of name you’re adding from the dropdown menu. Options include nickname, maiden name, birth name, former name, and others. Enter the name and choose whether to display it at the top of your profile. Save when finished.
You can add multiple other names if needed. Someone who changed their name after marriage, then changed it again after divorce, might list both previous names to help old friends reconnect.
Displaying a Maiden Name
Maiden names deserve special attention since they’re so commonly searched. If you changed your name after marriage, adding your maiden name ensures that high school and college friends can still find you.
When adding a maiden name specifically, select “Maiden name” from the name type dropdown. This categorizes it correctly and may affect how Facebook displays it on your profile.
Consider whether you want the maiden name prominently displayed or just searchable. The “Show at top of profile” option makes it visible to everyone viewing your profile. Leaving this unchecked means the name helps with search but doesn’t appear prominently.
Troubleshooting Common Name Change Issues
Even following all the steps correctly, you might encounter problems. Facebook’s automated systems sometimes flag legitimate name changes, and technical glitches occasionally interfere with the process.
Understanding common issues and their solutions saves frustration. Most problems have straightforward fixes, though some require patience while waiting for Facebook’s review processes.
What to Do if Your Name is Rejected
Facebook rejects names that appear to violate their policies, even when the rejection is mistaken. Common triggers include unusual names that look fake to automated systems, names with characters the system doesn’t recognize, and names that match known policy-violating patterns.
If your name is rejected, you’ll receive a notification explaining that it doesn’t meet Facebook’s standards. The explanation is often vague, which doesn’t help much, but you have options.
First, try a slight variation. If “Billy-Bob” was rejected, try “Billy Bob” without the hyphen. Sometimes the system objects to specific formatting rather than the name itself.
If variations don’t work, prepare to verify your identity. Gather a clear photo of your ID showing the name you’re trying to use. Submit through Facebook’s verification portal and explain that this is your legal name. Include any relevant context, like recent legal name changes that might not appear on older IDs.
Recovering from an Accidental Name Change
Accidentally saved the wrong name? Your options depend on whether you’ve used your name change within the past 60 days.
If this was your first name change in 60 days, you can immediately change it again to correct the mistake. Go through the same process and enter the correct name this time.
If you’ve already used your name change allowance, you’re in a trickier situation. You can wait 60 days for the restriction to lift, or you can appeal to Facebook directly. Use the help center to explain that you made an accidental change and need to correct it. Include details about what happened and what your name should actually be.
Facebook sometimes grants exceptions for obvious mistakes, especially if you can demonstrate the error. A screenshot showing you changed from “Jennifer Smith” to “Jenniferr Smith” makes a compelling case for a typo correction.
Making Your Name Change Work for You
Changing your name on Facebook takes just a few minutes when everything goes smoothly. The key is preparation: know what name you want, understand Facebook’s rules, and double-check everything before hitting confirm.
Remember that your Facebook name affects how two billion people might find and recognize you. Take the time to get it right. Consider adding other names for searchability, especially if you’ve gone by different names throughout your life.
If you run into problems, don’t panic. Facebook’s support systems exist for exactly these situations. Most rejected name changes get resolved within a few days once you provide proper documentation.
The platform wants your profile to accurately represent you; sometimes their automated systems just need a human to verify that your unusual name is genuinely yours.

COMMENTS